Software prerequisites
Level: Beginner
Keywords: prerequisites, installation, java, nodeJs, Git, SAMO Cli tools
The result: successfull installation of all needed software prerequisities
Java
Java ia used as a platform for running backend services (LIDS Application Server, SAMO User Service, SAMO Gateway).
Download JAVA JDK 17
Please make sure, you have installed JAVA 17. You can check currently used version by running java -version in the command line.
Some older projects runs on SAMO 8 Platform which uses JAVA 8. In case you have to implement projects download JAVA JDK 8. You can have both JAVA version installed and just switch JAVA_HOME variable.
Installation guide
Run installation executable and install with default settings.
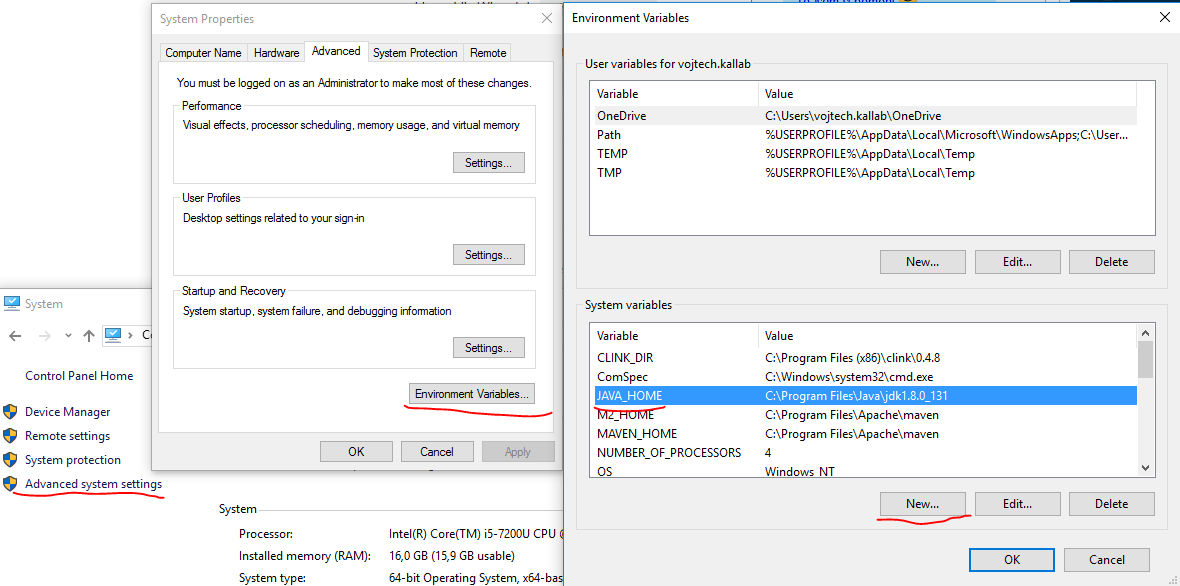
Add path to the Java bin directory to the PATH environment variable.

Add a new JAVA_HOME variable to system variables (New). If you already have an older version of Java installed, just edit this variable (Edit).
Git access setup
Git is used for metadata versioning, collaboration and project management. For more information see chapter Git.
1) Install Git for windows (git command line tool)
Run installation executable and install with default settings. Windows explorer integration is optional:

2) Setup gitlab access keys
1) Download and install PuttyGen
Download puttygen.exe (not putty.exe!)
2) Create .ssh folder in your home directory.
Run command:
mkdir %HOMEDRIVE%%HOMEPATH%\.ssh
3) Generate keys
Start PuttyGen utility:

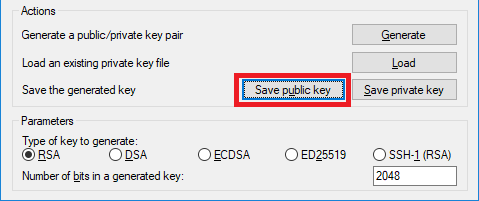
Click on Genereate button and move with mouse over blank area:

Click on Save public key:
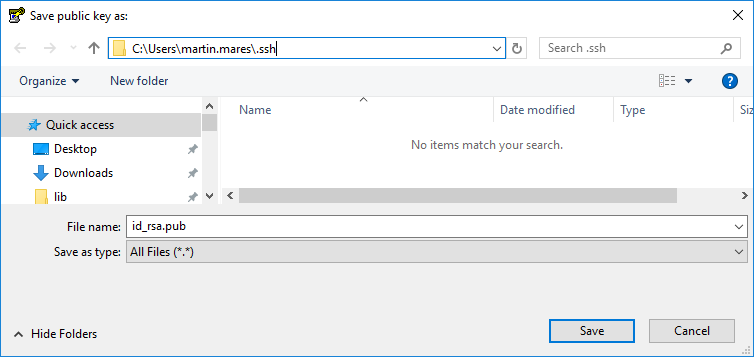
Save key to .ssh folder with name id_rsa.pub:
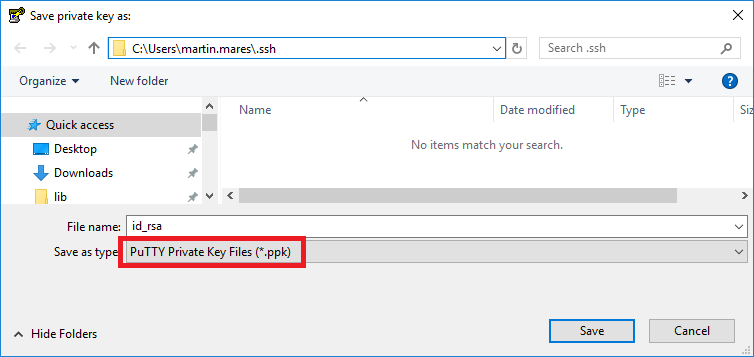
Click on Save private key and confirm saving key without passphrase:
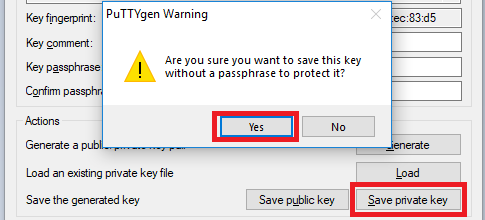
Save key to .ssh folder with name id_rsa.ppk:
Click on Conversions menu and select Export OpenSSH key (confirm saving key without passphrase):
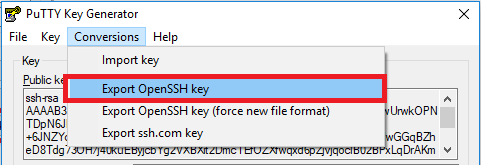
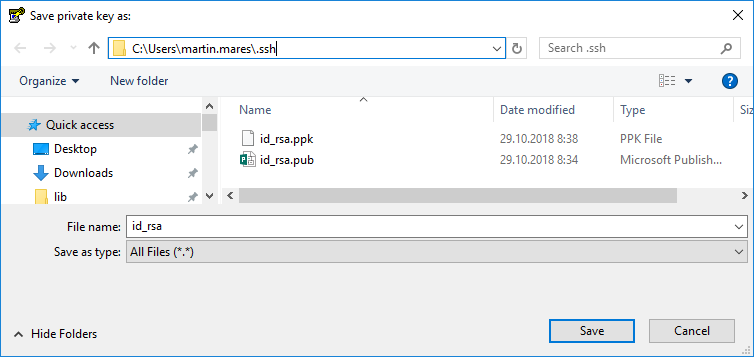
Save key to .ssh folder with name id_rsa (no extension):
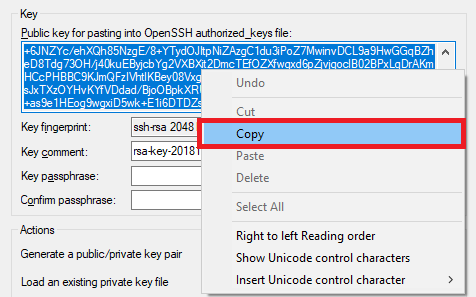
Copy public key to clipboard:
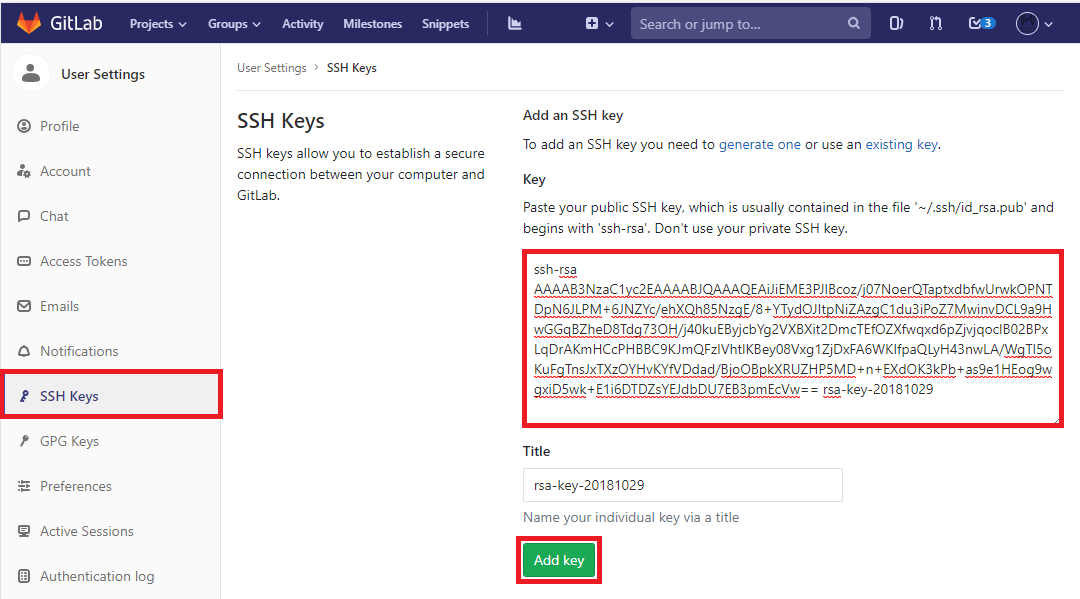
4) Register public key in gitlab
Navigate to https://gitlab/ and login.
Open settings from user menu (upper-right corner):

Choose SSH Keys from menu, paste public key to key input and click on Add key:
3) Tortoise Git (optional)
Run installation executable and install with default settings.
4) Test git access for 'git' command line tool
Open windows command prompt and navigate to C:\dev\gitlab\samo\customers\asseco-ce (create directory if not exits)
cd C:\dev\gitlab\samo\customers\asseco-ce
Clone samo-demo-project reposiroty:
git clone ssh://git@gitlab:20022/samo/customers/asseco-ce/samo-demo-project.git
Type yes if your are asked for verification of 'ECDSA key fingerprint'
Check content of samo-demo-project directory.
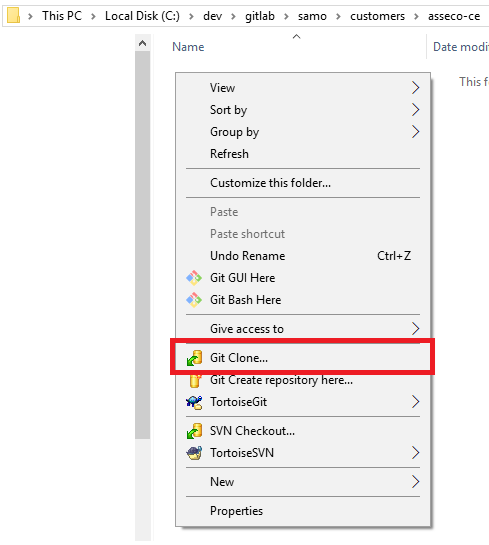
5) Test git access for Tortoise Git (optional)
Remove C:\dev\gitlab\samo\customers\asseco-ce\samo-demo-project directory (if created in previous step).
Right click to folder C:\dev\gitlab\samo\customers\asseco-ce and select Git clone:
Set url to ssh://git@gitlab:20022/samo/customers/asseco-ce/samo-demo-project.git, check Load Putty Key and set path to id_rsa.ppk file in your .ssh folder and click on ok:
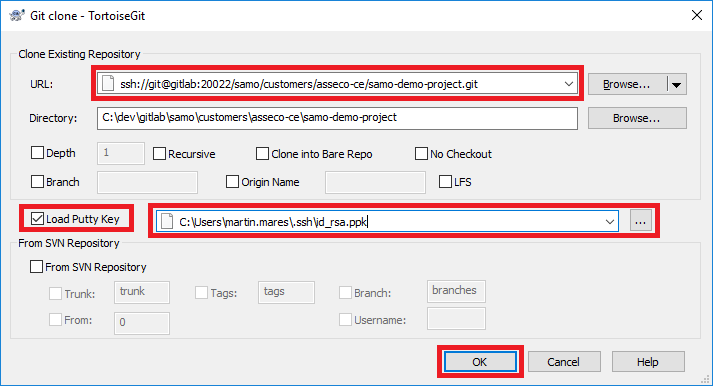
Check content of samo-demo-project directory.
SAMO CLI Tools with OpenSSL integration
1) OpenSSL
Download the Windows OpenSSL installer and run it. During installation, you can choose where to copy DLL's - this is up to you, but after successful installation you need to make sure, that OpenSSL binaries are set correctly in PATH in environment properties.
2) SAMO-CLI
Download the Windows SAMO-CLI installer and run it as administrator.
In installation wizard fill in your LDAP credentials (username and pasword you use to log into your computer) and press Install.

Then you need to change Repostiory URL to https://nexus/ and press Install again.
You need to "Install" (go through installer) twice. First with https://sw.samo-asseco.com URL and second with https://nexus/ URL.
These actions will create .samo-cli file in your "C:\Users\name.surname" directory. You can check if tokens for sw.samo.asseco-com a nexus were created.
After successfull installation, it is good to restart your File Explorer (if you are used to run the command line prompt from there) to reflect changes made by installation. Check your version by running samo-cli version command. You should see Version: 2.0.3
3) Samo packages tool (pkg)
For more information see Implementation Tools.
- Open NEW command line prompt and run command:
samo-cli install pkg
- Verify installation by running command:
pkg help
- Login to the packages repository with your LDAP credentials by running command:
pkg login
4) Localtron
For more information see Implementation Tools.
- Open command line prompt and run command:
samo-cli install localtron
- Verify installation by running command:
localtron help
- Clean Tomcat & cache if only upgrading localtron version (not installing anew):
localtron clean
localtron cache-clean --all
5) SAMO Artifacts tool
For more information see Implementation Tools.
- Open command line prompt and run command:
samo-cli install sat
Visual Studio Code (optional)
Text editor, which makes it easier to work with the hierarchical directory structure of the project metadata, to write and repair the code. It supports syntax highlighting for multiple file types. It also contains integrated functionality for direct communication with Gitlab. Among the GUI approach, a Terminal is also integrated. Creation of custom extensions is also supported.
List of usefull shortcuts
- CTR+P - search in file names
- mouse wheel click - open the file in new tab
- SHIFT+ALT+F - format file (formatting extensions needed for more specific file types)
LIDS Explorer & Edit (optional)
LIDS Explorer & LIDS Edit are thick desktop GIS clients, while Edit is used for CAD formats and requires Microstation.
Download is currently possible only from U:\Public\Products\LIDS_7\2_Distrib\1_Client\8.x
Enterprise Architect (optional)
Sparx Systems Enterprise Architect is a visual modeling and design tool based on the OMG UML. The platform supports: the design and construction of software systems; modeling business processes; and modeling industry based domains.
- Light version of Enterprise Architect is distributed freely and can be installed from here. This version is needed for SAMO Platform Training.
- For the access to the full version, you must contact your supervisor to create ServiceDesk request and ask for assigning a licence.