Local environment Set up
Level: Beginner
Keywords: local environment, local project, set up
The result: overview of the installation process for your local environment
How to install and set up your local environment?
This following manual will only work, if you have successfully installed all the required & optional software prerequisites.
All steps and commands in this chapter are written for DEMO Project. For other projects GIT repository names and addresses for administration consoles and application will differ.
- Clone project and packages repositories from gitlab using TortoiseGit or simple
git clonecommand. Use Clone with SSH option for internal gitlab and Clone with HTTPS option for external gitlab. Try to create similar folder structure as in gitlab to your computer (you need to create all folders manually) and clone the content there.
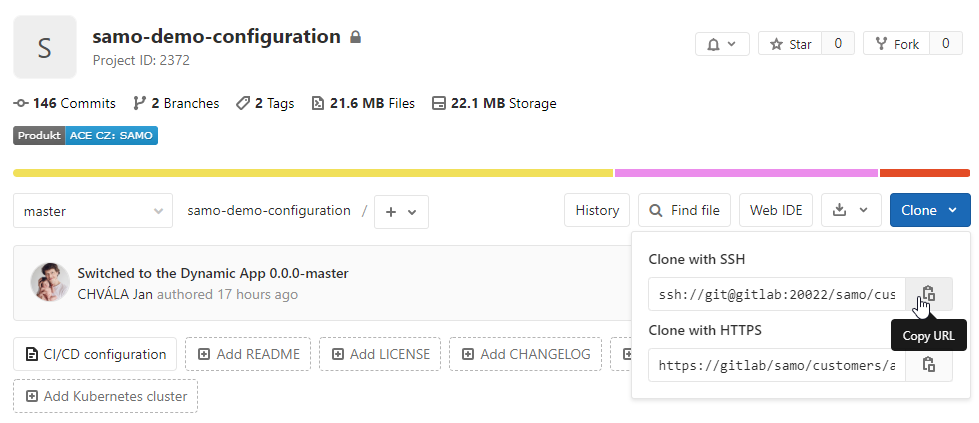
Fig. 1 Cloning from internal gitlab
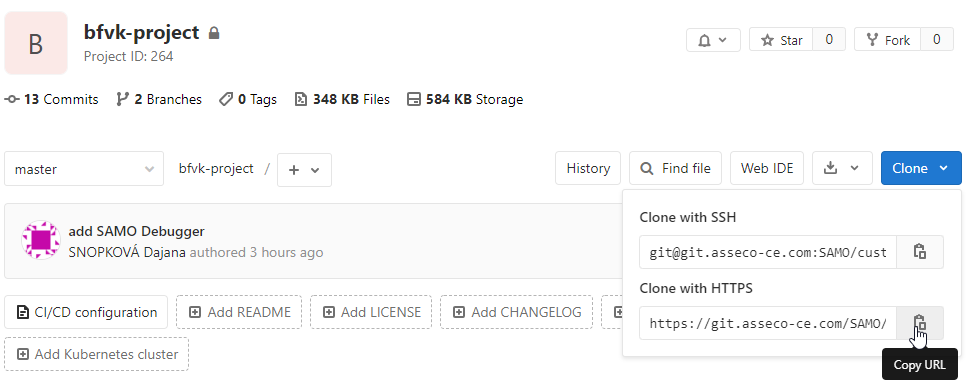
Fig. 2 Cloning from external gitlab
For the DEMO Project you need to clone following repositories:
-
Register packages (locally) by running
pkg registerfrom the folder, where you have cloned them (command works recursively). -
Now you need to load the corresponding project packages to your local project directory. Run
pkg project-installfrom the local env project directory (e.g. C:\dev\gitlab\samo\customers\asseco-ce<span style="color: rgb(255,0,0)">samo-demo-project\environments<span style="color: rgb(255,0,0)">dev). This will create configuration folder with a copy of corresponding packages used by application according to the versions inpackage-lock.jsonfile. -
Then you will need to create symm-link for the packages, in which you will want to make changes and push them to server. Open the command line as administrator, navigate to your env project directory (e.g. C:\dev\gitlab\samo\customers\asseco-ce<span style="color: rgb(255,0,0)">samo-demo-project\environments<span style="color: rgb(255,0,0)">dev) and run e.g.
pkg project-link -f -p @samo-demo/samo-demo,@samo-demo/lids-demo,@samo-demo/eam,@samo-demo/samo-tests-and-examples,@samo-protocols/protocol-base. Be careful with–foption, especially if you have uncommitted local changes! Option-fdeletes corresponding packages and creates them anew with yarn-link. The-poption is used to list packages, their names can be found in the correspondingpackage.jsonfile. Since the pkg version 2.2, it is also possible to use commandpkg project-link -f -pl -im, which will automatically identify all the packages for linking from thepackage-lock.jsonfile. The-im(--ignore-missing) option is used to include only previously registered packages (viapkg registercommand); not for examplesamo-basepackage, which should be used in specific version and not linked to e.g.masterbranch. -
Use Localtron to download and run your local environment. Run
localtron runfrom the local env project directory (e.g. C:\dev\gitlab\samo\customers\asseco-ce<span style="color: rgb(255,0,0)">samo-demo-project\environments<span style="color: rgb(255,0,0)">dev). This will start all required software components locally according to the versions inlocaltron.jsonfile.
- SAMO Application: http://localhost:11080/
- SAMO-Gateway console: http://localhost:11080/console
- SAMO-LIDS console: http://localhost:11380/as/console/
- Tomcat admin console: http://localhost:11380/probe
- LIDS Explorer (Edit) address: http://localhost:11380/as/WebFeatureService
- DB connection: differs for each project, usually can be found in project repository
environment.propertiesfile
Some older projects run on port 10080. Port 10080 was however marked as unsafe by common internet browsers. It may happen, that you will see "ERROR_UNSAFE_PORT" message after loading page http://localhost:10080/. You need to add an exception to your browser. For example for Google Chrome, you have to open properties of Google Chrome.exe file and type --explicitly-allowed-ports=10080 to the Target. All opened browser windows must be closed while doing this. Also, unpinning Chrome application from Taskbar is needed.

-
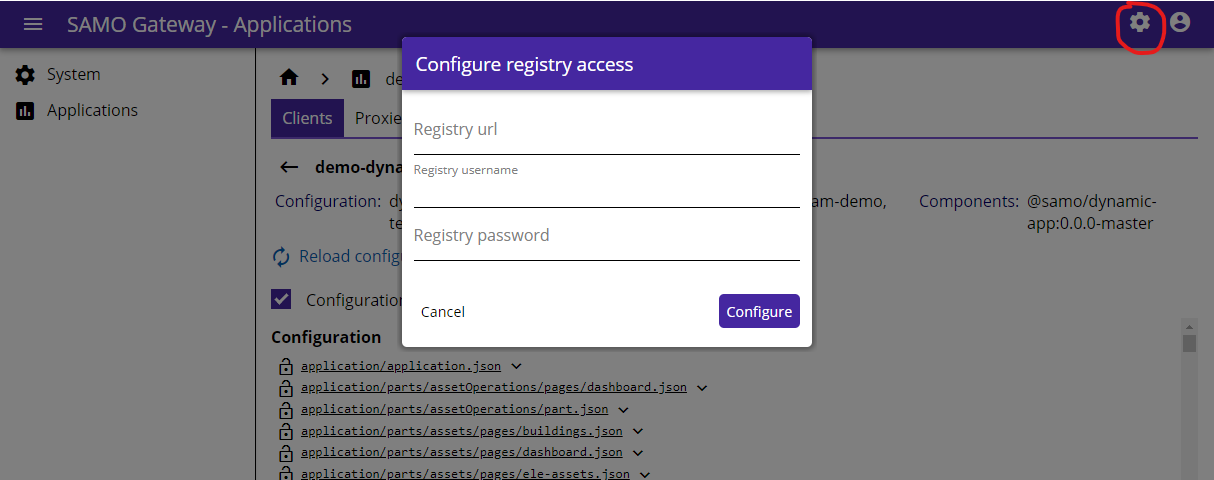
When setting up the local environment for the first time (or when some new components were released) you need to update web components in the SAMO-Gateway console. Also, when updating components for the first time, you need to Configure Components by clicking on Settings and filling your LDAP login credentials (same ones you use to log in to your computer). Then you can update web components. Select application and client (e.g. demo > demo-dynamic-client) and Update components.
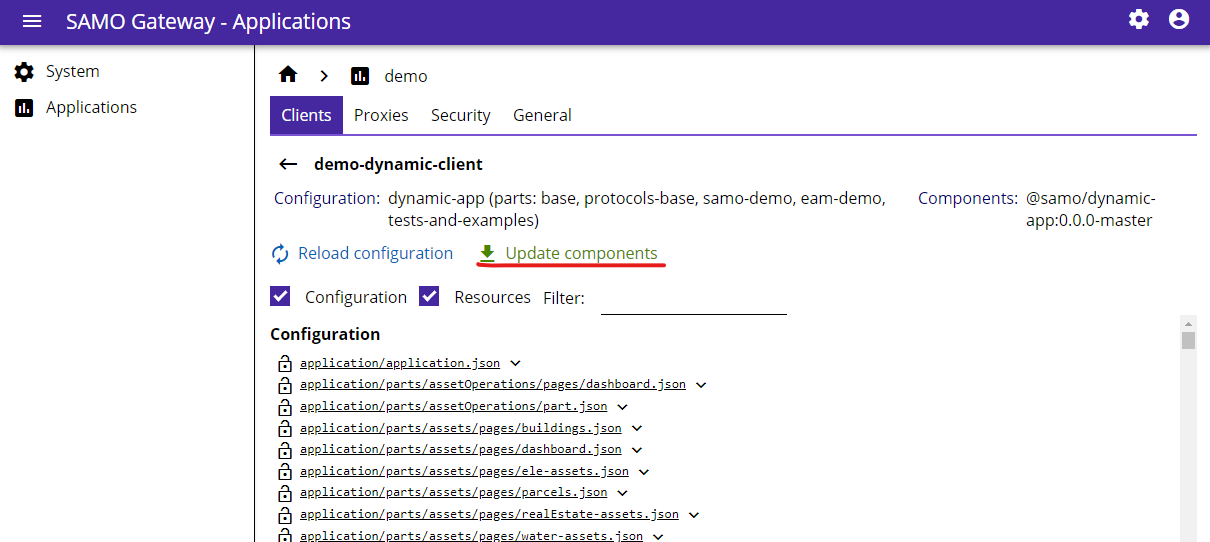
-
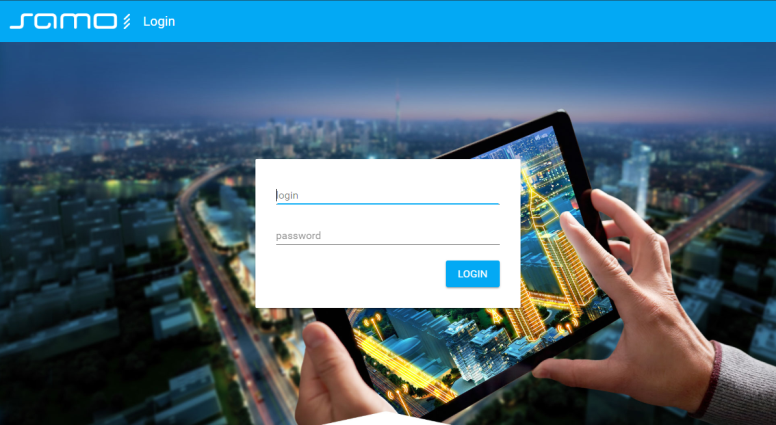
If everything is going fine, you can see the application login web page at: http://localhost:10080 like below: